Home hardware manufacturer 18+ years

  • Facebook
  • linkedin
  • TikTok
  • youtube
  • Twitter
Leave Your Message

7 Tips for Choosing the Right Wardrobe Hanging Rod

Choosing the right Wardrobe Hanging Rod can make daily storage easier, quieter, and more reliable. A poorly selected rod may bend under winter coats, loosen inside the cabinet, or leave clothes crowded together. These problems often appear months later, not during installation.

Measure carefully. Then measure again.

A practical choice begins with the wardrobe’s width, depth, material, and expected load. Steel rods usually support heavier garments, while aluminum offers a lighter option for moderate storage. The rod’s diameter, wall thickness, brackets, and mounting surface also affect performance. A strong rod can still fail when installed into weak particleboard or uneven panels.

Experience matters here.

These seven tips focus on real fitting conditions, not attractive product descriptions alone. They consider clothing weight, daily access, available space, corrosion resistance, and installation stability. Reliable manufacturers should provide clear load guidance, dimensions, finish details, and mounting instructions. Independent customer feedback can reveal problems that specifications overlook, such as noisy movement or sagging after regular use.

Still, no single rod suits every wardrobe. A design that works in a spacious built-in closet may feel awkward in a narrow cabinet. It is easy to overestimate storage needs and choose unnecessary strength, or underestimate them and replace the rod later. Rechecking your measurements and clothing habits may feel inconvenient, but it prevents expensive adjustments. The right choice should support your garments safely while matching the wardrobe’s structure, appearance, and everyday use.
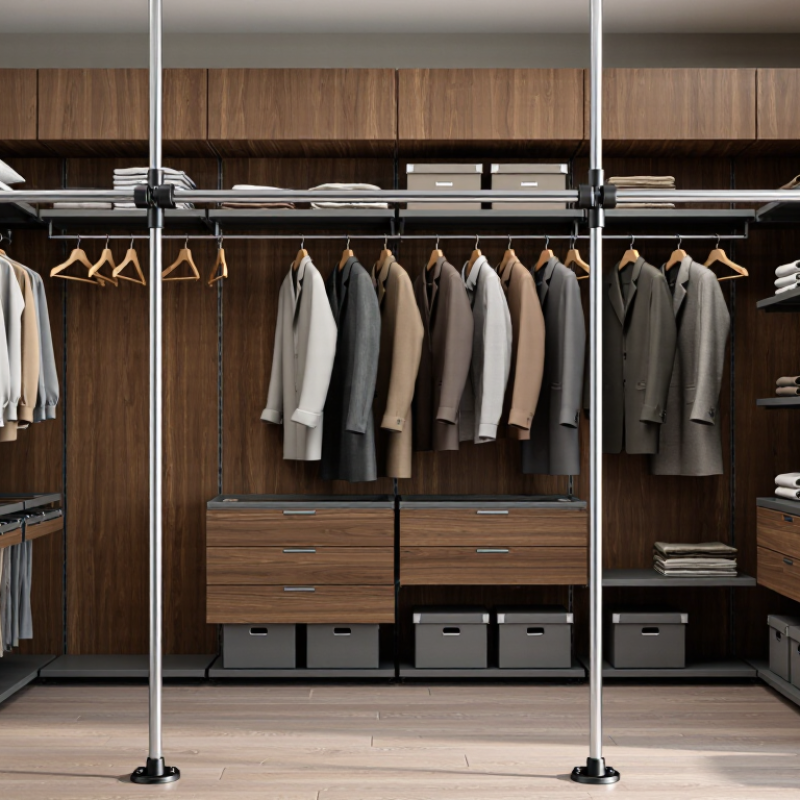
7 Tips for Choosing the Right Wardrobe Hanging Rod

Define Your Wardrobe’s Rod Requirements

Define Your Wardrobe’s Rod Requirements

A hanging rod should match the wardrobe, not merely fill its empty space. Measure the internal width, depth, and usable height before choosing anything. Leave enough clearance for hangers to turn without scraping the doors. A practical fitting rule is to keep several centimeters between garments and the back panel. This small gap improves airflow and reduces crushed sleeves.

Tip 1: Identify the clothing load. Shirts and scarves need less support than coats, denim, or formalwear. Count the garments you own, then estimate their combined weight. A metal rod may suit heavy clothing, while a lightweight rod can work for seasonal items. I once measured only the rod length and ignored the wall fixings. That assumption was wrong.

Tip 2: Check the mounting surface carefully. Solid wood, engineered panels, and masonry require different anchors and installation methods. Confirm the rod diameter, bracket spacing, and maximum supported load from reliable technical information. Do not trust appearance alone. Test the installation gently before filling the wardrobe.

Tip 3: Plan for future changes. An adjustable rod can help when clothing needs grow, but its joints may need closer support. Think about moisture too, especially in compact rooms. A clean, dry surface protects the rod and stored clothes. Recheck the measurements. Small errors become annoying every morning.
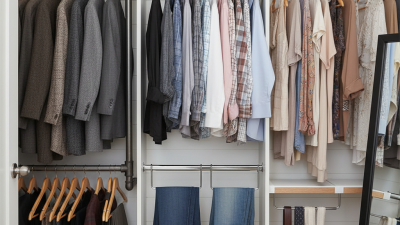
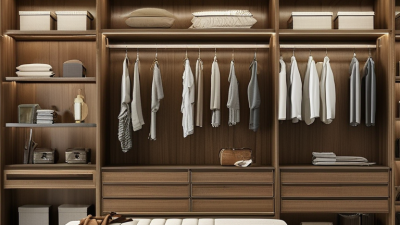
Compare Rod Materials, Strength, and Weight Capacity

7 Tips for Choosing the Right Wardrobe Hanging Rod

Compare Rod Materials, Strength, and Weight Capacity

A wardrobe rod must support more than empty hangers. Coats, denim, and wet garments add surprising weight. Steel rods usually offer high strength and resist bending across longer spans. Aluminum is lighter and easier to handle, but it may flex under heavy loads. Solid wood adds warmth and stiffness, although its strength depends on grain, diameter, and finish.

Check the stated weight capacity before buying. That figure may assume central support, secure wall anchors, and evenly distributed clothing. Measure the rod length carefully. A long rod needs a center bracket, even when its material feels rigid. Thin tubes can look strong but sag noticeably after several months. I once underestimated winter coats and had to add support later. It was an avoidable mistake.

Inspect the mounting hardware, not just the rod. Screws should match the wall type, and hollow walls often require suitable anchors. Avoid judging capacity by appearance. A thick finish cannot compensate for weak brackets. Look for load-test information, installation limits, and clear material specifications from reliable sources. Leave extra capacity for seasonal changes. Your wardrobe may grow.

Select the Correct Rod Length and Diameter

Choosing the right wardrobe hanging rod starts with accurate measurements. Measure the usable space between the side panels, not the outside width. Then subtract about 5–10 millimeters for smooth installation and slight movement. Measure twice. A rod that fits too tightly can press against the cabinet and bend over time.

Rod length also depends on the clothing load. Short rods usually need less support, while longer rods may require a center bracket. For heavy coats, suits, or several layers of clothing, add support before the rod visibly sags. A practical rule is to keep unsupported spans moderate, especially with thin metal rods. I once installed a long rod without checking the fabric weight. It looked fine for a week, then developed a noticeable curve.

Diameter affects strength, grip, and available wardrobe space. A rod around 25–32 millimeters suits many everyday wardrobes, but the correct choice depends on material and wall support. Thinner rods save space but may flex under heavy garments. Thicker rods feel stronger, yet they can reduce hanger clearance in compact cabinets. Leave breathing room. Check the hanger hook, side clearance, and bracket depth together. A test fit with two or three loaded hangers can reveal problems that a tape measure misses.

Match the Rod Style to Your Storage Space

7 Tips for Choosing the Right Wardrobe Hanging Rod
Match the Rod Style to Your Storage Space

A hanging rod should fit your wardrobe’s daily rhythm, not only its width. Tip 1: Measure the clear space between the side panels before buying. Tip 2: Check the depth. Shirts need less room than bulky coats. A rod placed too close to the door can crush sleeves and create awkward wrinkles.

Tip 3: Choose a straight rod for standard wardrobes with one clothing level. Tip 4: Consider a double rod when short garments fill the lower area. Tip 5: Use a corner or curved rod for L-shaped storage, but check whether hangers can turn freely. I once planned a corner installation too tightly; the clothes technically fit, but using them felt frustrating. Measurements alone were not enough.

Tip 6: Match the rod material and thickness to the load. Heavy jackets require stronger support and shorter spans. Tip 7: Inspect the brackets, screws, and wall condition before installation. A strong rod can still fail when its supports are weak. Leave a little clearance above the hangers. It improves access. Also, avoid filling every centimeter immediately. A crowded rail looks efficient, but it makes clothing harder to see, remove, and return.

7 Tips for Choosing the Right Wardrobe Hanging Rod - Match the Rod Style to Your Storage Space

Tip Rod Style Recommended Storage Space Typical Dimensions Practical Load Guidance Best Use
1 Straight fixed rod Standard wardrobes with a single, unobstructed hanging section Usually 600–1,200 mm long; 25–32 mm diameter Light to medium clothing loads; use a center support for longer spans Shirts, jackets, trousers, and everyday garments
2 Pull-down rod High wardrobes where the upper rail is difficult to reach Common wardrobe width: 600–1,000 mm; downward travel often 600–900 mm Designed for lighter loads than fixed rods; follow the mechanism’s rated capacity Seasonal clothing and upper-level storage
3 Telescopic rod Rental wardrobes, adjustable cabinets, and spaces with uncertain measurements Adjustable ranges commonly span 450–900 mm or 600–1,200 mm Capacity decreases as the rod is extended; secure both ends firmly Flexible layouts and temporary installations
4 Oval or flat-profile rod Wardrobes where lateral stability and reduced rotation are important Typical profile: approximately 15–30 mm wide and 10–20 mm high Suitable for medium loads when installed with matching brackets Dense clothing storage and tidy hanger alignment
5 Side-mounted rod Shallow or narrow wardrobes where front-to-back depth is limited Often projects 250–400 mm from the side panel Best for light to medium loads; use reinforced side-panel fixings Small bedrooms, entry closets, and corner cabinets
6 Double hanging rod Tall wardrobes with enough vertical clearance for two garment levels Two rails typically require about 1,000–1,200 mm of usable height Distribute garments evenly and leave clearance between both levels Short garments such as shirts, skirts, and folded-hang items
7 Heavy-duty reinforced rod Wide wardrobes or sections intended for coats, suits, and formalwear Usually 25–32 mm diameter with a center support for spans over approximately 900 mm Choose the load rating for the complete rod-and-bracket system, not the rod alone Coats, suits, denim, and other heavier garments

Measurement note: Confirm the wardrobe’s internal width, depth, height, panel thickness, and fixing method before installation. Actual load capacity varies with rod material, span, bracket spacing, fasteners, and cabinet construction.

Check Installation, Support, and Long-Term Durability

7 Tips for Choosing the Right Wardrobe Hanging Rod

Check the installation surface before buying a wardrobe hanging rod. A solid wood panel needs different fasteners from plasterboard. Measure the clear width carefully, including the space occupied by brackets. A rod cut too short will shift under load. It happened in my own closet. I trusted an old measurement and had to reinstall it.

Examine bracket support, not just the rod’s appearance. Wider wardrobes may need a center bracket to prevent bending. Choose supports with deep fixing points and suitable screws for the wall material. Test the structure by applying gentle downward pressure before adding clothes. Then hang several coats and inspect the joints after a day. A little movement matters. Check the rod’s stated load capacity, but treat it as a guide rather than a guarantee. Heavy garments, uneven loading, and weak panels reduce real performance. Look for corrosion-resistant finishes, especially in humid rooms. Smooth surfaces also protect fabric from snags. Finally, leave enough clearance between the rod and shelf above it. This allows hangers to turn without rubbing. I sometimes overlook this small detail. Regularly tighten loose fittings and watch for cracks, rust, or sagging. Replacing one worn bracket early is safer than repairing a damaged wardrobe later.