Home hardware manufacturer 18+ years

  • Facebook
  • linkedin
  • TikTok
  • youtube
  • Twitter
Leave Your Message

7 Tips for Choosing the Right Closet Rod Support

Choosing the right Closet Rod Support can make a wardrobe safer, quieter, and easier to use. A weak support may bend under winter coats, while an oversized one can waste valuable hanging space. The decision deserves more than a quick look at price or appearance. It requires attention to rod diameter, wall material, spacing, weight capacity, and daily use.

This guide explores seven practical tips for selecting a reliable Closet Rod Support. Each tip connects product details with real installation concerns. For example, a support fixed into a stud usually offers greater stability than one mounted only in drywall. Metal supports often suit heavier loads, while reinforced plastic may work well for lighter clothing. Check the manufacturer’s tested capacity. Do not rely on guesswork.

Small details matter.

Measure the closet carefully before ordering. A few millimeters can affect alignment, door clearance, and rod movement. Also consider humidity, especially in laundry areas or poorly ventilated rooms. Rust-resistant finishes may provide better long-term performance there. Still, no product is perfect. Even a highly rated support can fail when screws, anchors, or wall conditions are unsuitable. I have seen neat-looking installations loosen because the installer skipped a simple load check.

Reliable advice should combine hands-on experience, clear specifications, and sensible caution. These recommendations are designed to help homeowners, renters, and installers compare options with confidence. Take your time. A properly chosen Closet Rod Support should disappear into the background while quietly carrying the work.
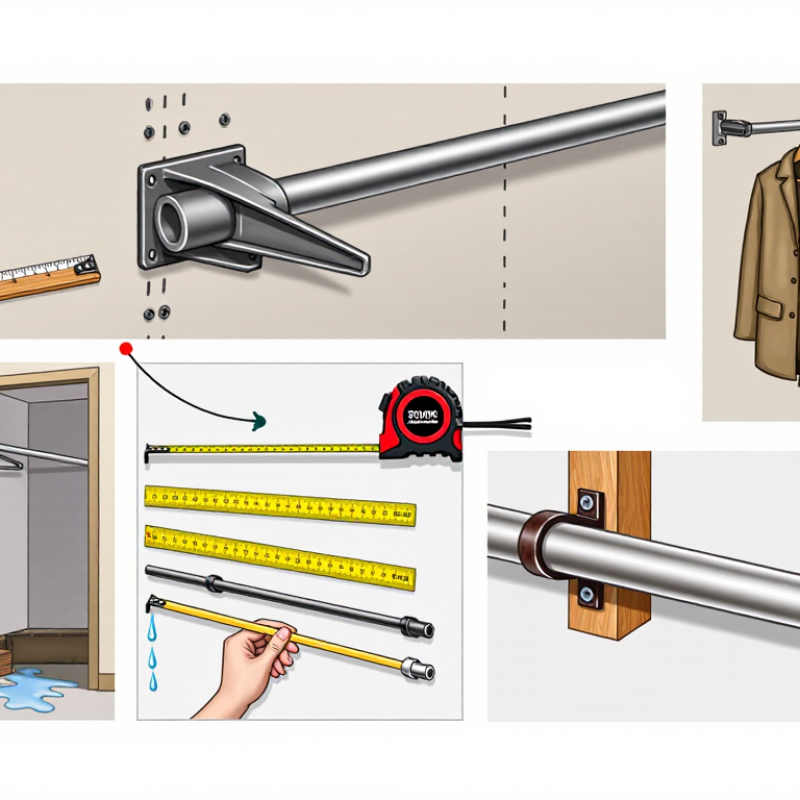
7 Tips for Choosing the Right Closet Rod Support

Identify the Closet Rod Type and Intended Use

Before choosing a closet rod support, identify the rod itself. Measure its diameter, shape, length, and material. A round steel rod may need a different cradle than an oval wooden rod. Tension rods require special cups because they press against both side walls. Do not trust appearance alone. Two rods may look similar but have different support depths. I once measured only the length and bought brackets that held the rod loosely. That small mistake caused unnecessary movement.

Next, consider the intended use. A rod for shirts and light jackets carries less stress than one holding coats, uniforms, or heavy denim. Daily handling also matters. Children may pull clothing down, while a guest-room rod might remain untouched for weeks. Check the support’s stated load rating and compare it with the estimated clothing weight. Add a center support for long spans or dense wardrobes. Empty space can be misleading.

Examine the mounting surface before drilling. A solid stud, masonry wall, and hollow drywall require different fasteners and installation methods. Confirm the support’s projection, so hangers do not scrape the back panel or door. Keep enough clearance for sleeves and coat shoulders. A support can match the rod perfectly and still fail on a weak wall. Measure twice. Then test the installed rod gently before loading it.
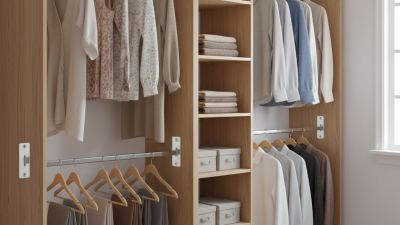
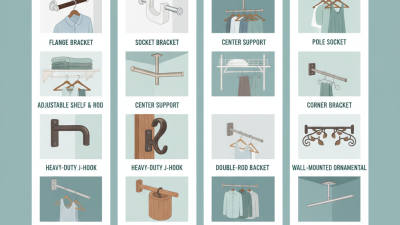
Measure the Closet Space and Select the Correct Rod Length

Measure the Closet Space and Select the Correct Rod Length

Measuring closet space sounds simple, but small errors can leave a rod sagging or a door rubbing. Start with a steel tape, not a flexible ruler. Measure the clear width between the side walls at three heights: top, middle, and bottom. Walls are rarely perfectly square. Record the smallest measurement, then subtract the space required by each support and any end hardware. For a wall-to-wall rod, the usable length must fit inside that reduced width. For example, a 60-inch opening may need a 58-inch rod after support clearance. Do not force a longer rod into place.

If the rod will hold coats, denim, or damp laundry, allow extra support and avoid relying on length alone. A longer span creates more bending pressure, especially with thin tubing. Follow the stated load guidance when available, and add a center support when the span or clothing weight requires it. Check the mounting surface before drilling; drywall alone may not provide dependable holding strength. I also measure the depth from the door and shelves, because a correctly sized rod can still block movement. That detail is easy to miss. Leave enough clearance for hangers to turn freely. My earlier measurements were too optimistic. Rechecking prevented a poor fit.

7 Tips for Choosing the Right Closet Rod Support - Measure the Closet Space and Select the Correct Rod Length

Tip Measurement or Decision Typical Example Recommended Action Why It Matters
1. Measure the clear opening Measure the inside width between the two mounting surfaces at the intended rod height. Opening width: 48 in (121.9 cm) Take measurements at the top, middle, and bottom; use the smallest result. Walls and panels may not be perfectly parallel, so the smallest measurement helps prevent binding.
2. Select the correct rod length Allow space for the rod sockets or support cups according to their installation instructions. 48 in opening → start with a rod about 47.5 in long when 0.5 in total clearance is required. Confirm the actual clearance required by the selected hardware before cutting. A rod that is too long may not seat fully; a rod that is too short may leave excessive movement.
3. Check the rod diameter Match the rod diameter with the opening size of the support cups or brackets. Common rod diameters include 1 in and 1¼ in. Use supports designed for the exact rod diameter; do not rely on a loose fit. A correct fit reduces slipping, rattling, and uneven loading.
4. Add a center support for long spans Evaluate the unsupported span, rod material, and expected clothing load. A 72 in span generally benefits from one or more intermediate supports. Place a center support near the midpoint, or follow the support spacing specified for the rod system. Intermediate support helps limit sag and transfers weight to the wall.
5. Match support capacity to the load Estimate the combined weight of garments, hangers, and accessories. Heavy coats require more support than lightweight shirts. Use the manufacturer’s stated load rating and reduce the span when the load is high. Load ratings vary by material, span, fastener, and installation surface.
6. Secure the supports to suitable structure Identify wall studs or use fasteners rated for the wall type. Wood stud, masonry, and drywall require different fastening methods. Pre-drill where appropriate and keep screws aligned with the support holes. The fastener and wall connection often determine practical strength more than the rod alone.
7. Verify clearance and alignment Check door movement, shelf clearance, rod level, and hanger space before final installation. A rod may need to sit several inches below a shelf to allow hangers to move freely. Mark both support locations with a level, install loosely, then confirm alignment before tightening. Proper clearance prevents door interference and keeps garments hanging evenly.
Quick sizing reference: For a 24 in, 36 in, 48 in, 60 in, or 72 in closet opening, begin with a rod approximately 0.5 in shorter than the measured opening only when the selected hardware requires 0.5 in of total clearance. Always verify the support manufacturer’s installation dimensions before cutting.

Choose a Support Material That Matches the Expected Load

Choosing the right closet rod support starts with the expected load.

A light summer wardrobe may need only a basic aluminum or reinforced polymer support. Coats, suits, and folded blankets require stronger steel supports with thicker mounting plates. The rod material matters too, because a strong bracket cannot prevent a weak rod from bending.

Estimate the load before shopping. Count the garments, then add extra weight for seasonal storage. A densely packed one-meter section can become surprisingly heavy.

Steel usually offers excellent strength and resists bending across wider spans. Aluminum is lighter and can work well for moderate loads, but thin designs may flex. Wood supports can look warm and solid, although moisture and grain direction affect their reliability.

I have seen rods sag because the support looked sturdy but was fixed into weak drywall. That mistake matters. Attach supports to wall studs whenever possible, or use fasteners rated for the wall material.

Check the manufacturer’s load guidance, but treat it as a reference rather than a guarantee. Installation quality, spacing, and repeated daily use also change performance.

Measure twice.

If the closet holds heavy coats, place an additional center support instead of relying on two end brackets. I once underestimated winter clothing weight, and the rod bowed within weeks. A slightly stronger material would have been the wiser choice.

Determine the Ideal Support Style and Installation Position

7 Tips for Choosing the Right Closet Rod Support

Determine the Ideal Support Style and Installation Position

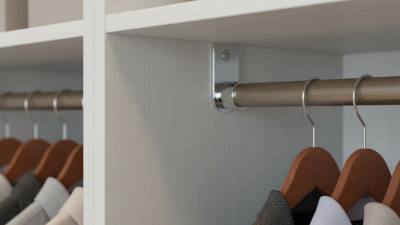
A closet rod fails quietly when its support style does not match the load. Choose open sockets for light garments and easy access. Use enclosed brackets when hangers may shift during daily use. Heavy coats need reinforced supports, preferably fixed into wall studs. The rod diameter must also match the bracket opening. Small mismatches create wobbling.

Position matters more than appearance. The 2021 National Association of Home Builders report found that 67% of buyers considered a primary-bedroom walk-in closet essential or desirable. That demand makes practical planning important. For a single hanging section, place the rod around 60 inches above the floor. A double-hang layout usually uses rods near 40 and 80 inches. Keep end supports close to the side walls, but leave enough clearance for hangers. Add a center support when the span exceeds the hardware’s rated distance.

Check the wall before drilling. The 2024 International Residential Code recognizes common stud spacing of 16 inches on center, but older homes can differ. Use a stud finder, then confirm manually. I once installed a support beside a stud, not through it. The rod sagged within weeks. That mistake changed my process. I now test the fixing point, estimate the clothing load, and leave room for future storage. A clean installation is useful. An overconfident one is not.

Check Mounting Hardware and Test the Support Before Use

Choosing the Right Closet Rod Support

A strong closet rod starts with suitable mounting hardware. Check the wall material before buying supports. Drywall, wood studs, and masonry require different anchors. A screw that feels tight may still hold poorly in hollow drywall. Use a stud whenever possible. Add a washer when the support slot allows it. The washer spreads pressure and reduces metal deformation.

Professional installation guidance favors load testing, not guesswork. ASTM F2057-23 addresses stability risks in clothing storage furniture, while CPSC data recorded 234 child deaths involving clothing storage unit tip-overs from January 2000 through April 2022. Closet rods are different products, but the lesson remains useful: secure connections deserve careful testing. Do not treat a printed weight rating as automatic permission to overload the rod.

Install the support, then apply weight gradually. Hang several garments first and watch for movement, wall flexing, or tilted brackets. Leave the load in place for a few minutes. Listen for cracking sounds. I once trusted a tight-looking drywall anchor, and it loosened after repeated use. That mistake changed my checking routine. Test again after twenty-four hours, especially if the closet carries coats or stored textiles. If the support shifts, remove the load and inspect the screw, anchor, wall surface, and rod alignment. Small gaps often reveal a larger installation problem.